About me

My top tips on how to make a house a home with simple, innovative ideas and a sensible budget.
Visit my store to view and order custom word art.

Thursday, 15 August 2013

Three green bottles, sitting on the wall... - August 2013

Three green bottles, sitting on the wall... - August 2013

So when I was on holiday recently I saw these sloe gin bottles and thought about a local table top sale coming up. I'd warned hubby that this table top sale was coming up and I might be looking to invest in things I could sell there. So I bought 5 as a starter as I thought they'd make rather charming salad dressing bottles. I had a fiddle with designs the other night and while I think I could evolve the application of the design, I think it's a good starter for ten! I used decal - the same method as I used for the decal jars and they've worked out ok, as long as the salad dressing isn't too dark!


(OK so there's only one green bottle, but I just took artistic licence with the title!)

Sunday, 4 August 2013

A place for the blinkin' tupperware! - August 2013

A place for the blinkin' tupperware - July 2013

I don't know about you but I have a love-hate relationship with tupperware. It's very useful (of course) but storing it is a nightmare. It's alway falling out of the cupboard and seems to take creep until the whole cupboard is spewing tupperware! 

So I thought I'd store then in a box over the fridge, which is quite short for a fridge freezer. Again, the benefits of being tall! 

I wanted something durable that was going to last, which discounted cardboard.  However, as the fridge freezer is new I'm keen to make sure I don't scratch the top, which seemed to count out most of the wicker/seagrass baskets. But then I saw one with a lining and thought I could make my own outer lining to protect the fridge. So, I picked up a couple in Waitrose today (£8 each) I wanted two the same size so any of the sets wouldn't work. Here it is:
  

Then I got a quart of fabric from my fabric box and loosely went around each of the long sides, going through the fabric, through the basket weave, then along the inside and back out. Then I took the ends and gathered them in through the handle hole. Et voila! Took about 10 minutes and it's not the neatest job I've ever done on a project, but it was while madame is sleeping post swimming lesson and I wanted to share too. I'm telling myself it's 'rustic'. Right, going to see if I can fit the other one in while she's sleeping and before my folks come round! 

Bye for now...

UPDATE 2 - Yep - here it is:


UPDATED - I've completed all three now - I did a much better job on the second two so I think I'll have to redo the first one at some point!


All this ugliness hidden from site!


Thursday, 1 August 2013

Lofti heights - not what you'd think! August 2013


LOFTI HEIGHTS - NOT WHAT YOU'D THINK! August 2013

Not loft boarding this time... Hubby and I seem to go through an inordinate amount of washing, as I'm sure most households do. It seems an endless cycle of washing, drying (ironing in the hubby's case) and folding/hanging to put away. And it's multiplied again since our darling sprog came into the world!!

We have a clothes horse, but we were, frankly, getting tired of walking around it. We could use the garden, but I've been a bit wary as although they've finished our section of the development, we still get a fair bit of dust blowing around from the next phase. So - I looked in the lakeland catalogue and found the lofti. We had a £10 voucher to use quickly and I thought this might be an ideal solution. If it didn't work we could send back. Nothing ventured... So we picked it up and found it had no instructions. :( Anyway, a quick google later and we found the youtube vid by the manufacturers on how to construct it. I'll be honest, our initial confusion was compounded by a miscount (not that I blame the hubby, but he was holding the box counting, just sayin') of the tube sections. Five poles divided by 14 doesn't go... what's that, I counted them again and there were 15? Oh, that makes more sense........

Anyway, I installed it the other night and after a few too many holes in the ceiling and a baton detector getting chucked in the bin (knocking on the plasterboard to find the beams was much more effective!) we have a drier. So the idea is you can lower to load it and then pull it up and tie the cord around like you would a roman blind cord. It's a really old idea but with aluminium bars rather than the heavy wooden ones.

We're fortunate to have a utility which it fits in perfectly, but when we didn't think it would fit we considered putting it over our bath (we normally use the shower in the en suite). The advantage of both locations is that they are right next to extractor fans, so it'll take the moisture away.

We can duck underneath without too much hassle to get to the microwave etc, and it probably only takes one load at a time, but it's certainly better than scooting round the drier in the kitchen.

It's up...

...and down


Wednesday, 31 July 2013

Working Kitchen - July 2013

WORKING KITCHEN - JULY 2013

I'll be honest, the last month or so I've been struggling with what to do with this blog. When I started out it was going to be full of DIY/craft things I'd done myself. Since going back to work full time after maternity leave, I've obviously had less time (hence my last post about having someone else action my wardrobe strategy). I don't want to lose people who have appreciated the home spun element of my blog work, or, in hardened economic times, upset those who don't have the cash to pay others to do work for them. But then the beautiful, smart and hard working ladies at my office also have their own constraint... time. So why limit my blog to only those who are cash strapped, when there are just as many who are time-strapped and would love the time to do some of what I have been able to achieve over the last few months. 

I hope that this blog continues to inspire, with some home-made projects (I really hope these will continue to be the majority of this blog, for my own sake!) and some product/retailer recommendations to help point you to some of the things that are of my, and may be to your, taste.

As such, I thought I'd share some of the kitchen developments we've made lately. 

First up - M&S 20% off sale. We got a couple of pieces of furniture in the buy two get 20% off sale, which changed to the 20% off sale soon after. You know sometimes you wonder how good the first of those offers is. You ask yourself time and again 'if this wasn't on a multi-buy - would I buy more than one?'. Well I followed my heart on these two and when the straight 20% offer came in, I didn't regret getting the second piece. Hubby and I had talked for ages of getting a shelving unit/wine rack and found this one in M&S and loved it. We know M&S often have offers on, so we waited until we had saved enough and it was on offer. I'll confess I'm a bit of a furniture snob - I want pieces that are going to stand the test of time or serve an immediate purpose. So I either go with Ikea - functional and immediate - or M&S/John Lewis, as I want them to last for the next 25 years and through a house full of kids. 

This particular unit was a good one for me as it meant all my decal jars could be cleared of the worktop and make the large kitchen feel less cluttered. My aim in life (well, not my sole aim, but one of them) is to have 'a place for everything and everything in it's place'. We've taken the mick out of my aunt for years for being so tidy, but as I get older I'm getting to be a firm believer that a clear space/house = a clear mind and it's so much easier to keep everywhere tidy if everything has a home. 

 Recognise those decal jars?!
The hen was reduced to £5 in a local garden centre.
Wine is the hubbies collection, nowt to do with me! It's actually supposed to be in the bottom bit, but what M&S don't tell you is that the wooden bit is re/moveable so we moved it up away from grabbing toddler hands a bit!

Also note the kitchen aid at the bottom (best Christmas present from Dad ever, half price, I come from a long line of tight bargain hunters!) and the bread bin from Sainsburys which I use to store the spuds (potatoes). 


And then the 'naughty but nice' purchase:

So the wall of hearts has been there for a while and this unit is a perfect fit (as you can see). The scales were a present from my sister about 9 years ago, the coffee maker was reduced down to £80 from £130 in John Lewis because it had been used once and had no box...bargain! Again, moving the breadbin there means more counter-top space.


So, I hope this works for you - I promised the next post would be prettier, and I hope this fulfils that promise. Up next... product recommendation.

Friday, 26 July 2013

More than just a rail! July 2013

More than just a rail! July 2013

So to those of you with husbands who take pride in their appearance, you will understand the modern day challenges of wife vs hubby's clothes, or in a same sex relationship, or, frankly, you just own too many clothes (JB, you know who you are!). 

Space - for - clothes.

When we moved in we were so excited to double our storage. But in retrospect, hubby used up most of our old wardrobe for his pristinely ironed shirts (he's just bought a mega steam iron jobby, but that's another story!). So with a double wardrobe and a single one next to it (which we're going to keep full length), plus and over stairs cupboard for shoe (hello modern house planner who thought about storage!?! Wow.) We thought we were sorted. We were wrong. The builders had done the standard, one shelf at eye height and one rail below and it just wasn't going to cut it.

So... I thought I'd ask our friend and local carpenter to help us out. I had the vision, and he had the skills to execute properly (don't mess with clothing storage!). I guess I could have in the pre-baby days, but now I'd rather play with her than slave over such a project for a whole weekend.

I tried to explain to the hubster what was going on, he didn't quite get it but trusted me to proceed. So the idea is that one long rail from side to side would need a mid way support. Fine if you have the shelf above but as we were planning to lose that, I thought instead of a narrow set of shelves from MDF half way to be a bridge.

I'm very pleased to say it worked out really well, and after sending hubby out for more coat hangers (!!)... here's the end result.


I do appreciate that the top rails will only work for those blessed with our family height, but hey, there has to be some up side to people saying "You're so tall, why do you wear heels?" - right?! ;)

Sorry I didn't take before and after photos, but to be honest, I thought it wasn't going to be that interesting... but I'm silly excited about being able to hang almost everything, so thought I'd share.

Next one will be prettier. Promise.

Thanks Mark!

Wednesday, 19 June 2013

A labour of love - June 2013

A LABOUR OF LOVE - JUNE 2013

It's been a little while since my last post, I've been trying to make sure everywhere is straight and spend as much time with my angel as possible before my return to work. Can't believe it's that time already... anyway!


Thought I'd share this with you, I've been chipping away at it for a couple of weeks now, although I've been wanting to do it since we moved in. It's pretty much the last thing I needed to do in her room. I got the tree shape inspiration from a card I got, and then just googled cartoon parrots, squirrels and owls, the robins were from my head. There was a lot of repainting (finally got the wall paint from the builder!) but got there in the end. The leaves are from tester emulsion pots - I also splashed out on gold metallic paint - you'll see the effect in the third photo where it's reflecting the light.

I've also included a couple of other shots of her room to give you an idea of how it fits into the room.


Thursday, 30 May 2013

A nest for my nest - May 2013

A NEST FOR MY NEST - MAY 2013

So I have a super lovely friend who lives near Cambridge where there are loads of decent antique/second hand shops. So when I wanted a nest of tables I asked if she could pick me up a set and bring them down next time she was this way. Well bless her heart (and her eye for a bargain!) she came up with these little gems for £42:


(There are three but guess who forgot to take a photo before she got to work on table 1...)

OK, so they don't look like gems yet, more diamond in the rough, but wait...

1. Sand them down using 70 (coarse) sandpaper. I did a reasonably good job of it on the table legs and cross pieces - but I did a proper job on the top as that's the bit that gets the wear.

2. Don't forget the wipe them down. I actually used a feather duster first so my cloth didn't get too dirty.

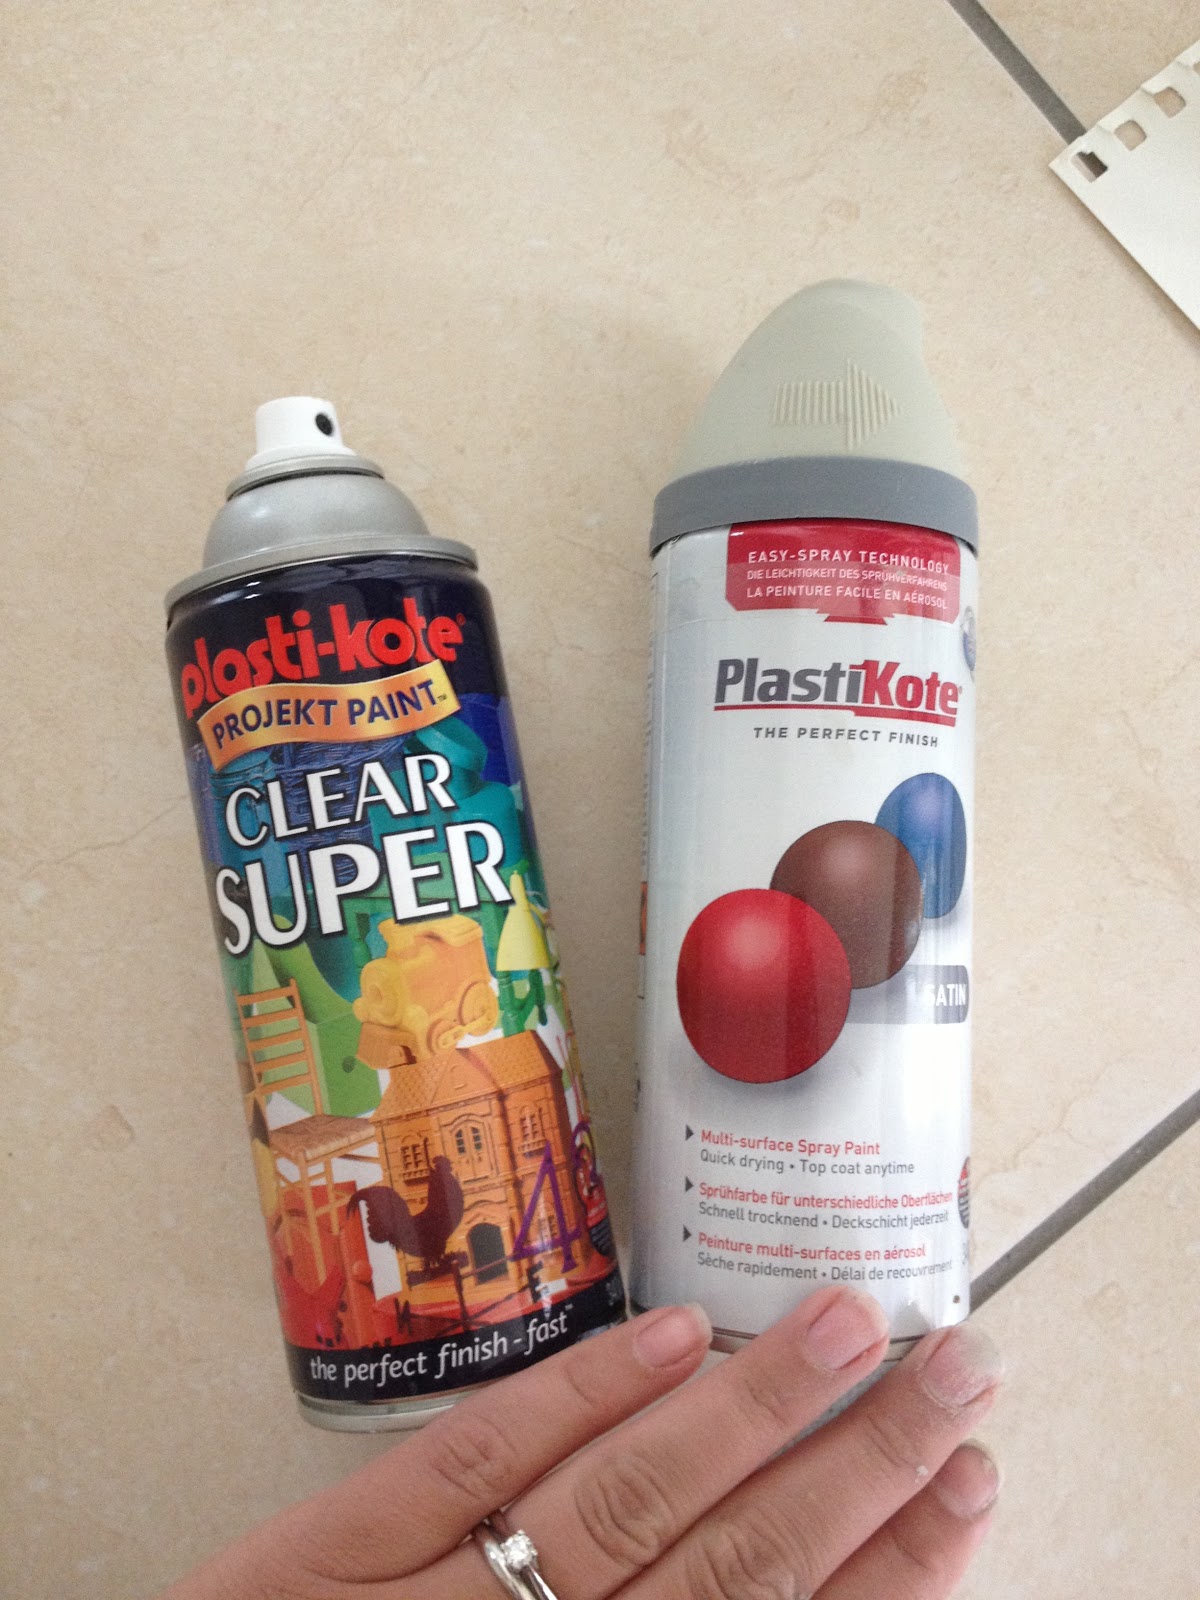
Then I used these lil puppies:

3. First up was the coloured paint - my weapon of choice was 'Warm Grey' - it's the same colour as my Grey birds. I did it outside as I do with all my spray paint projects (brand new house + spray paint = tears before bedtime). I don't worry about the coverage being too thick as I wanted little bits of graining to come through.

4. Now leave them to dry for 24-48 hours. (24 in my case cos I'm way to impatient).

5. Then to finish it off and give the paint a bit of protection give it one coat of the super clear spray (same as I used for the decal project by the way). Wait for it to dry and then give in another coat, just for good measure.

I also sprayed the runners that you slide the smaller table into the bigger table on - I figured they would get a decent amount of wear and tear too.
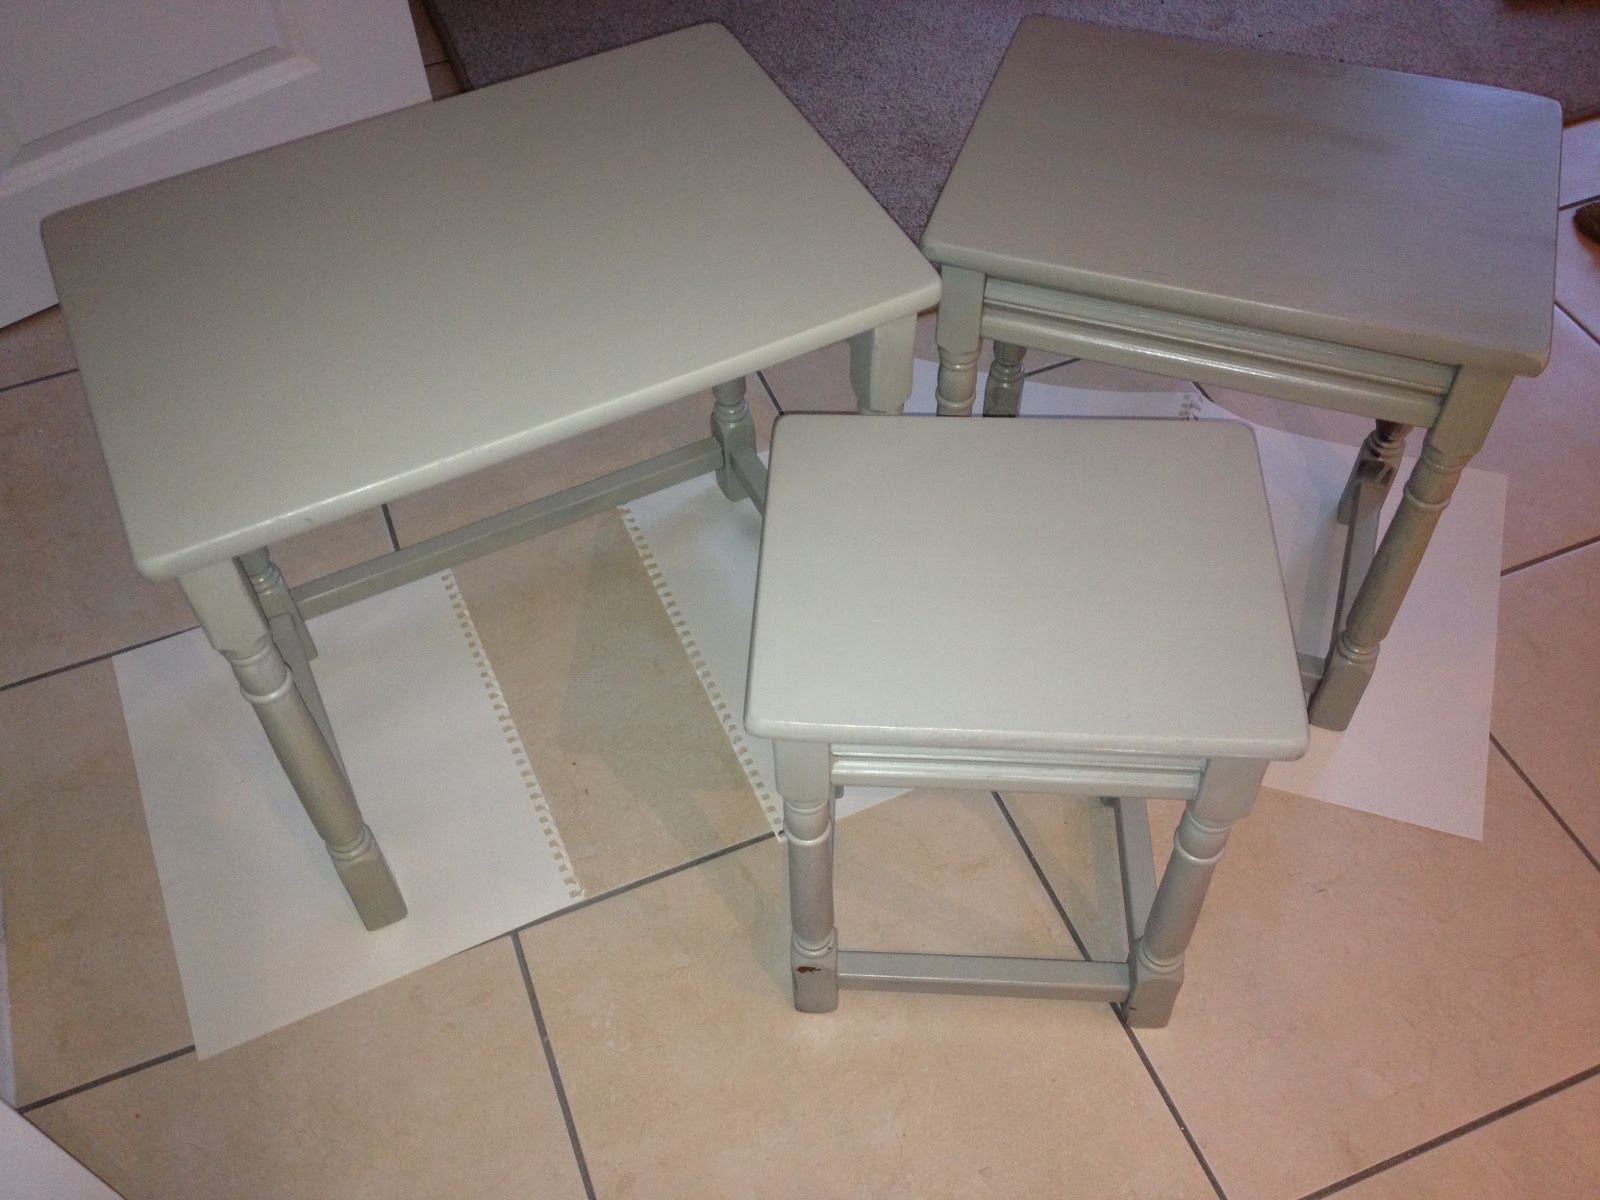
And here they are:


I might take a better pic when they are fully dry and in situ, but I couldn't wait that long... check back in a couple of days if you're interested.

Next for the treatment is a lamp stand my mum gave me - then I think I'll call it a day on the grey - I don't want all the furniture the same colour - right?