About me

My top tips on how to make a house a home with simple, innovative ideas and a sensible budget.
Visit my store to view and order custom word art.

Wednesday, 19 June 2013

A labour of love - June 2013

A LABOUR OF LOVE - JUNE 2013

It's been a little while since my last post, I've been trying to make sure everywhere is straight and spend as much time with my angel as possible before my return to work. Can't believe it's that time already... anyway!


Thought I'd share this with you, I've been chipping away at it for a couple of weeks now, although I've been wanting to do it since we moved in. It's pretty much the last thing I needed to do in her room. I got the tree shape inspiration from a card I got, and then just googled cartoon parrots, squirrels and owls, the robins were from my head. There was a lot of repainting (finally got the wall paint from the builder!) but got there in the end. The leaves are from tester emulsion pots - I also splashed out on gold metallic paint - you'll see the effect in the third photo where it's reflecting the light.

I've also included a couple of other shots of her room to give you an idea of how it fits into the room.


Thursday, 30 May 2013

A nest for my nest - May 2013

A NEST FOR MY NEST - MAY 2013

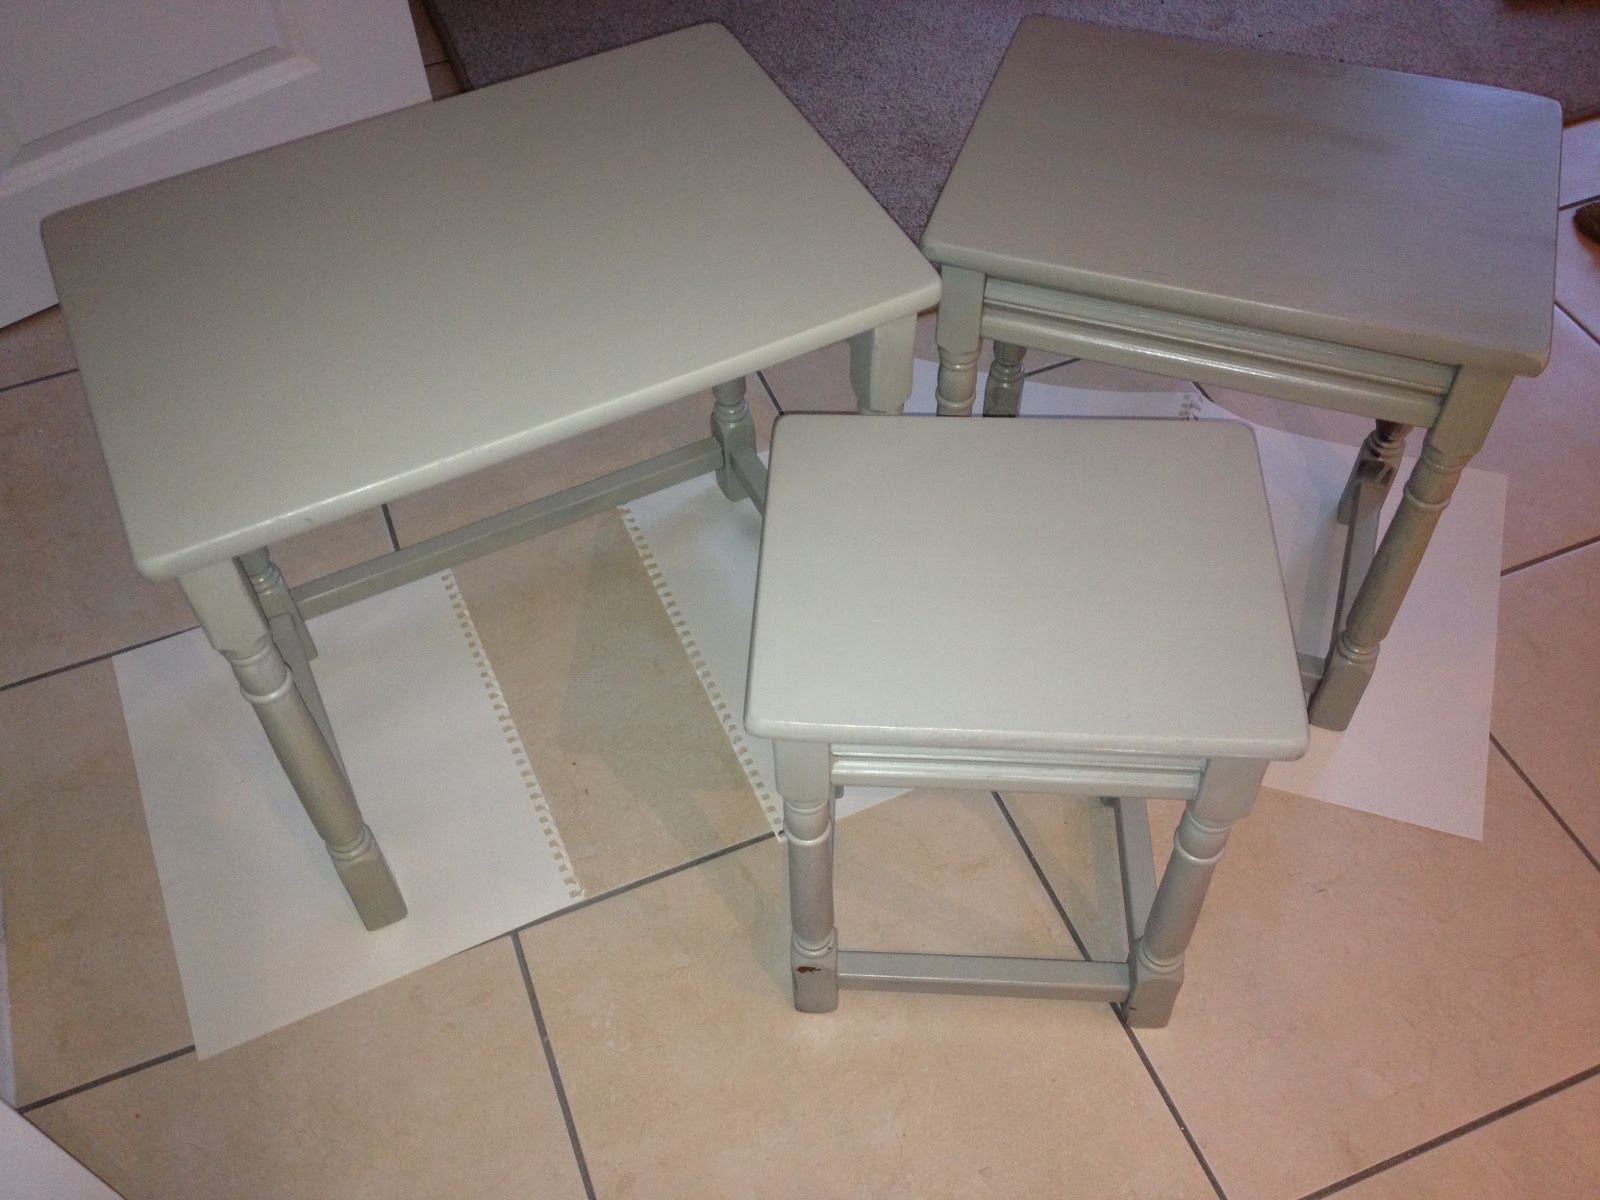
So I have a super lovely friend who lives near Cambridge where there are loads of decent antique/second hand shops. So when I wanted a nest of tables I asked if she could pick me up a set and bring them down next time she was this way. Well bless her heart (and her eye for a bargain!) she came up with these little gems for £42:


(There are three but guess who forgot to take a photo before she got to work on table 1...)

OK, so they don't look like gems yet, more diamond in the rough, but wait...

1. Sand them down using 70 (coarse) sandpaper. I did a reasonably good job of it on the table legs and cross pieces - but I did a proper job on the top as that's the bit that gets the wear.

2. Don't forget the wipe them down. I actually used a feather duster first so my cloth didn't get too dirty.

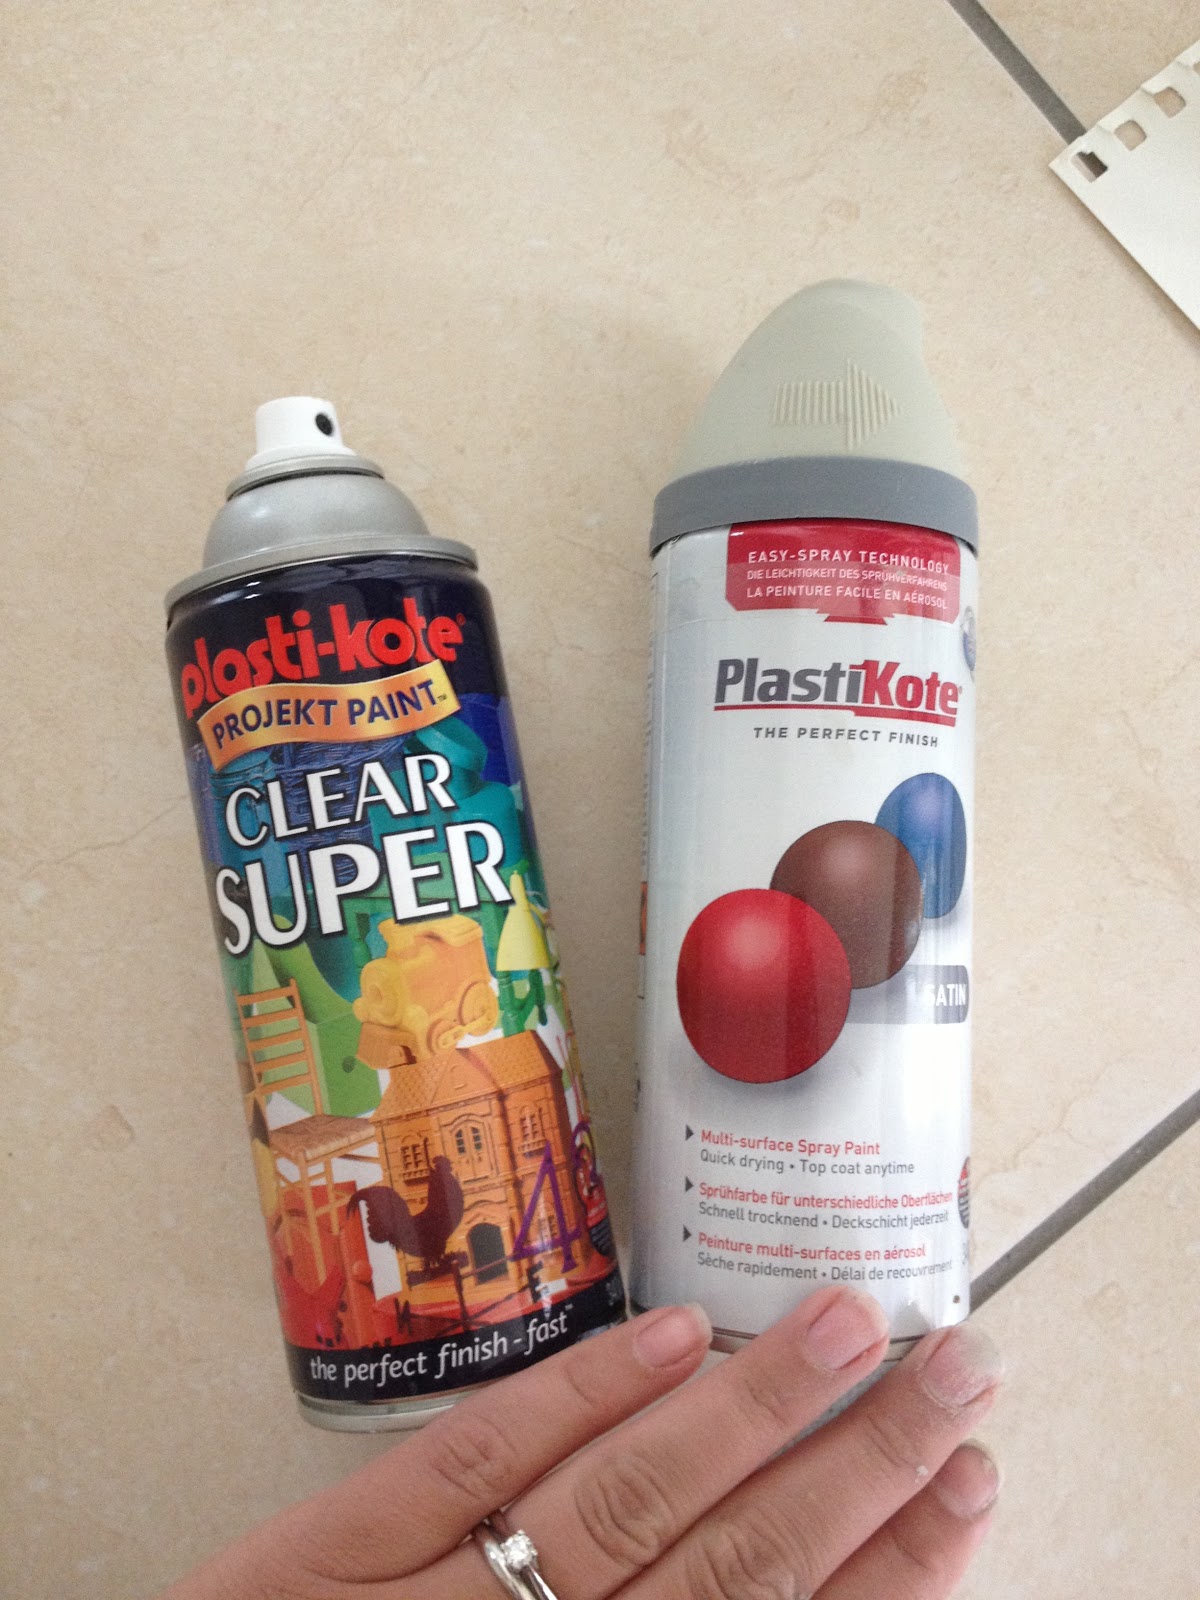
Then I used these lil puppies:

3. First up was the coloured paint - my weapon of choice was 'Warm Grey' - it's the same colour as my Grey birds. I did it outside as I do with all my spray paint projects (brand new house + spray paint = tears before bedtime). I don't worry about the coverage being too thick as I wanted little bits of graining to come through.

4. Now leave them to dry for 24-48 hours. (24 in my case cos I'm way to impatient).

5. Then to finish it off and give the paint a bit of protection give it one coat of the super clear spray (same as I used for the decal project by the way). Wait for it to dry and then give in another coat, just for good measure.

I also sprayed the runners that you slide the smaller table into the bigger table on - I figured they would get a decent amount of wear and tear too.

And here they are:


I might take a better pic when they are fully dry and in situ, but I couldn't wait that long... check back in a couple of days if you're interested.

Next for the treatment is a lamp stand my mum gave me - then I think I'll call it a day on the grey - I don't want all the furniture the same colour - right?

Wednesday, 29 May 2013

And as for me and my house - May 2013

AND AS FOR ME AND MY HOUSE - MAY 2013

I'd been struggling with what to do with this canvas for a while. I wanted it to cover over the alarm panel in the hallway (the canvas is fixed to the wall with a hinge I had from the old house). I tried writing this with Sharpies but it looked rubbish - I think because there were too many words. So then I painted over it in white but the blue kept bleeding through. Grr!

This morning while my angel was asleep I painted over with a dark green (Promenade by Crown), and then went over it with a lighter green (a little of the left over Menthe from my Light up my life project) and a very dry brush. Then I just loosely brushed the Menthe to paint on the words. I love how rough n ready it is... hope the hubby does!


Oh - news just in from email - he likes! :) ...and that's my angel awake - bye!

Sunday, 26 May 2013

Light up my life... - May 2013

LIGHT UP MY LIFE - MAY 2013

We bought light fixings for the living room a while back, but hadn't got round to putting them up, well - we tackled it on Friday/Saturday, so I thought I'd share how it went with you. It's obviously a bit more expensive than my usual projects, but a necessary evil!

Here they are:

And here's how it went:

1. We bought two ceiling roses from Homebase and two light fittings from BHS (half price in the sale). I also chose paints to match the fittings so I could paint the roses to match - I did look a bit of an idiot walking round B&Q with a baby strapped to the front of me and a light fitting in hand, but luckily I have no shame. ;) Surprisingly it turns out the paint on the fitting is actually a very light green - so ended up buying menthe and a brown colour... you'll see why.

2. I took my3.2cm bit and drilled three holes next to each other. I did this with the rose on top of a very large pyrex bowl so that I didn't damage any surface underneath - be sure to hold it steady though!. By the way, the trick when doing this is to do each hole half way down and then go over them again to finish off.

3. I got the paints home I gave the roses two base coats of brilliant white as a primer. (Two coats were to be on the safe side as I only had two sample pots of my base colour, so didn't want to have to do loads of layers and run out.)

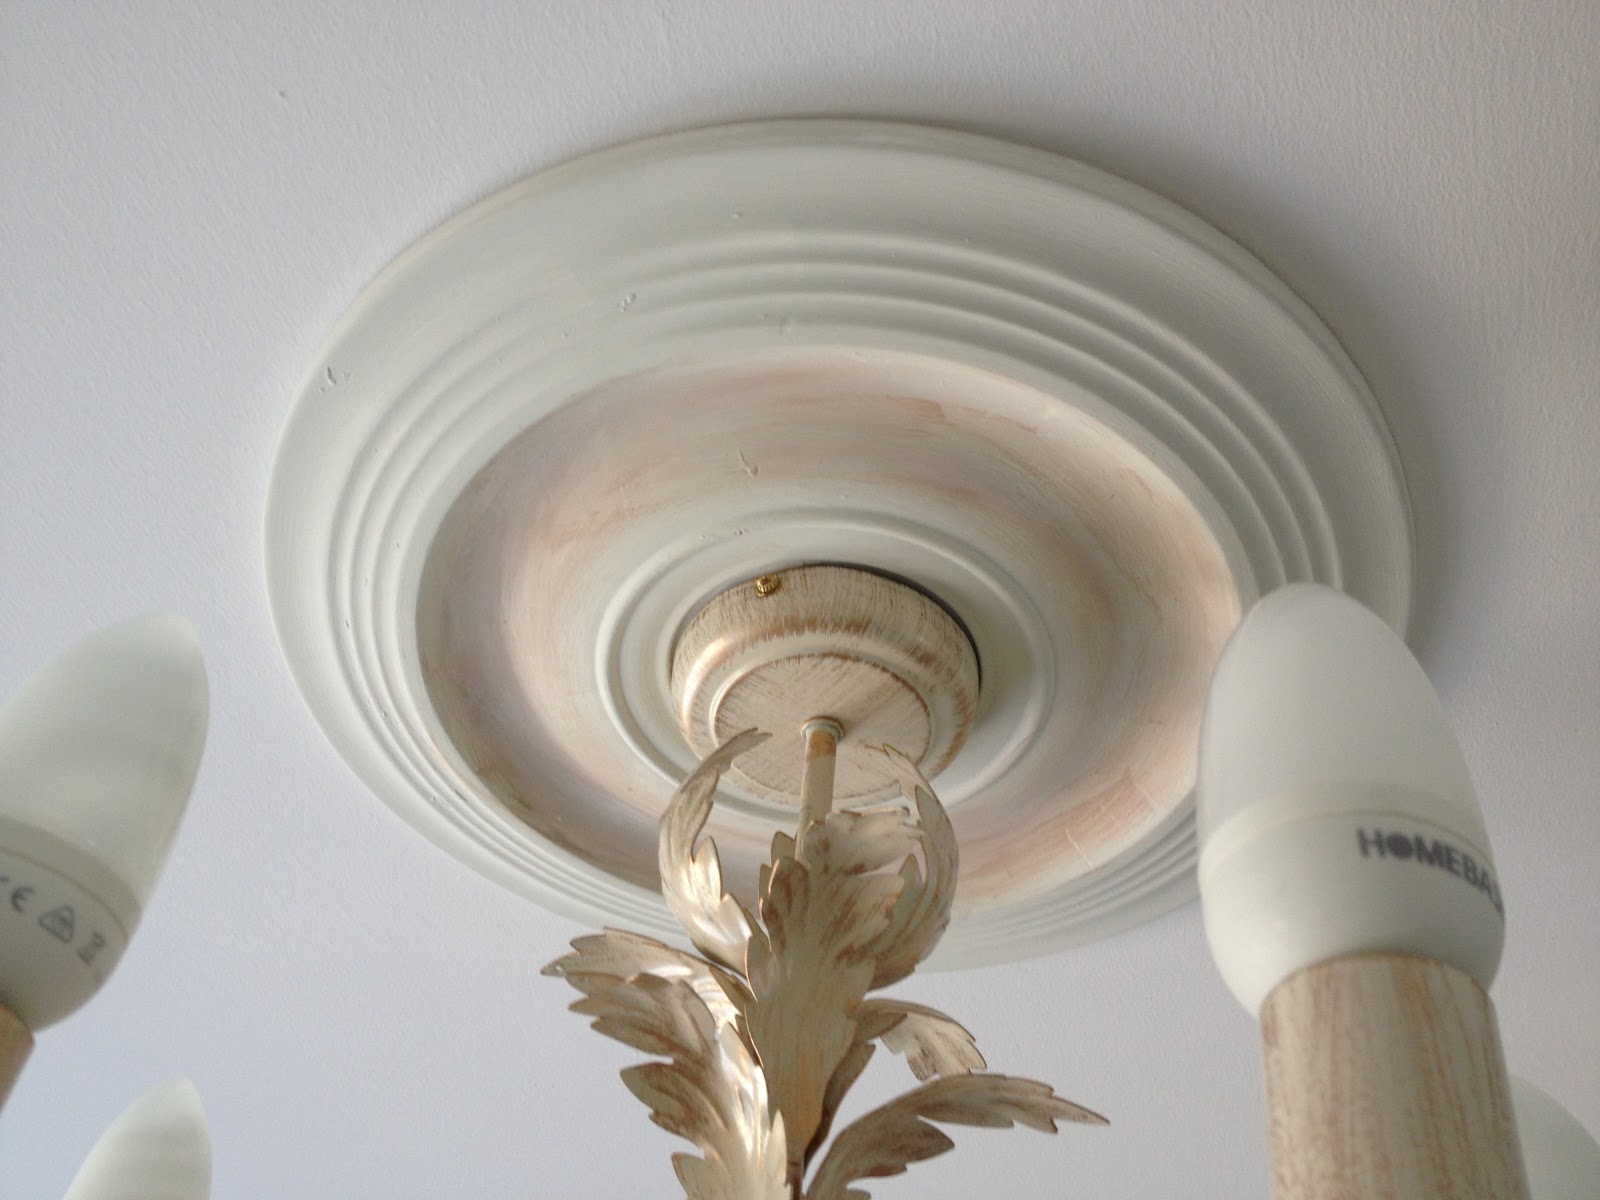
4. I then painted the base colour on and tried to do a highlight colour on the rims around the edge, but a. I didn't have a steady enough hand and b. it looked too formal and set. So I painted over it with white and then the base colour again and had another think... Then I thought about doing a dry brush effect with the brown to mimic the brush gold leaf effect on the fitting. So while the base coat was still wet I took a VERY dry brush with barely any brown paint on it and brushed over the large recess area. Like this:

5. Turn off your slight circuit on your fuse board!

6. Once that was dry I used no more nails to hold the rose to the ceiling. You have to make sure you are smart with which way round you put it on, so in the picture below the wooden beam in the ceiling runs from left to right. You need to have plaster to screw into... see the next step.

7. So as you can see, where I had to mark and drill into the ceiling with the light fitting bar will go into the wooden beam above. (You will need to drill a pilot hole).

8. Once that's drilled in and fixed in place (I used three inch screws as it had to go through the rose, through the ceiling plaster board, through a small gap and then up into the beam), you can fix up your electrics. I'm really not qualified to give advice on this bit though! If you're not confident, you should get an electrician to do this bit.

9. I then employed my husband's arm to hold the light fitting up high while I did the electrical bit and screwed in the grub screws to hold the fitting up. We both had our hands full for this bit so I'm afraid there's not pictures for this bit!

10. And it was done!


They were supposed to have glass cups at the bottom of the 'candle' bit, and crystal bits dangling down, but they were too fussy for our not massive living room, so we left them off.

The rose closest to us in this picture was the first one I did but it's brown bit is too dark, so I'll need to redo it at some point, but that can be done during the week when little one is asleep!

Sunday, 19 May 2013

Grey birds - May 2013

GREY BIRDS - MAY 2013

Owl will always love you....

Birdie!

This was my five minute craft deal this weekend. We dropped off some stuff at the charity shop on Saturday, and while I was in there I remembered this pin on pinterest. So I thought I'd do my own version. Unfortunately I forgot to take a before shot (again! grr) but the little owl was glass and the bird was this horrid turquoise/black spray weird effect. (you can see it coming through here:

When my husband saw them I think he thought I'd gone mad. They cost me £3 and I think they look cute now - they'll match the nest of tables as I used the same spray paint (post on that to follow once they are finished)


Shoe shelving in the cupboard - May 2013

SHOE SHELVING IN THE CUPBOARD - MAY 2013

Apologies in advance, this isn't a crafty fun post, more of an organising my house post. The cupboard over the stairs in our room was a higgldey-piggldey mess, and I've wanted to put up the shelves for quite some time in there,  but it's quite a big project. I finally summoned up the energy to do it today, and here's how!

First I worked out the heights of our shoe boxes and put guidelines on the wall with gaps big enough for the boxes. Next I measured across to see what the width of the shelf would need to be and worked out what the depth would be good front to back. The trick here is to get the balance of having them deep enough to hold the boxes fine, but not too deep that it's awkward to get them on the shelf, bearing in mind this was a built in cupboard. My shelves were 35cm deep and 98.5 wide - the gap was 99 so I gave a .5cm tolerance. 

In the old house we had loads of Pax wardrobes from Ikea, but I didn't need them all in the new house (built in wardrobes - yes!). So for the shelves I took two side panels and sawed them to the right size. This. was. exhausting. especially as it was warm out there today. One day I'll have a circular saw and it'll take one fifth of the time... but alas not yet!

I also used bit of left over wood I had lying about (although my reserve of scrap wood is running very low now!) as batons.

So - here's how I did it:

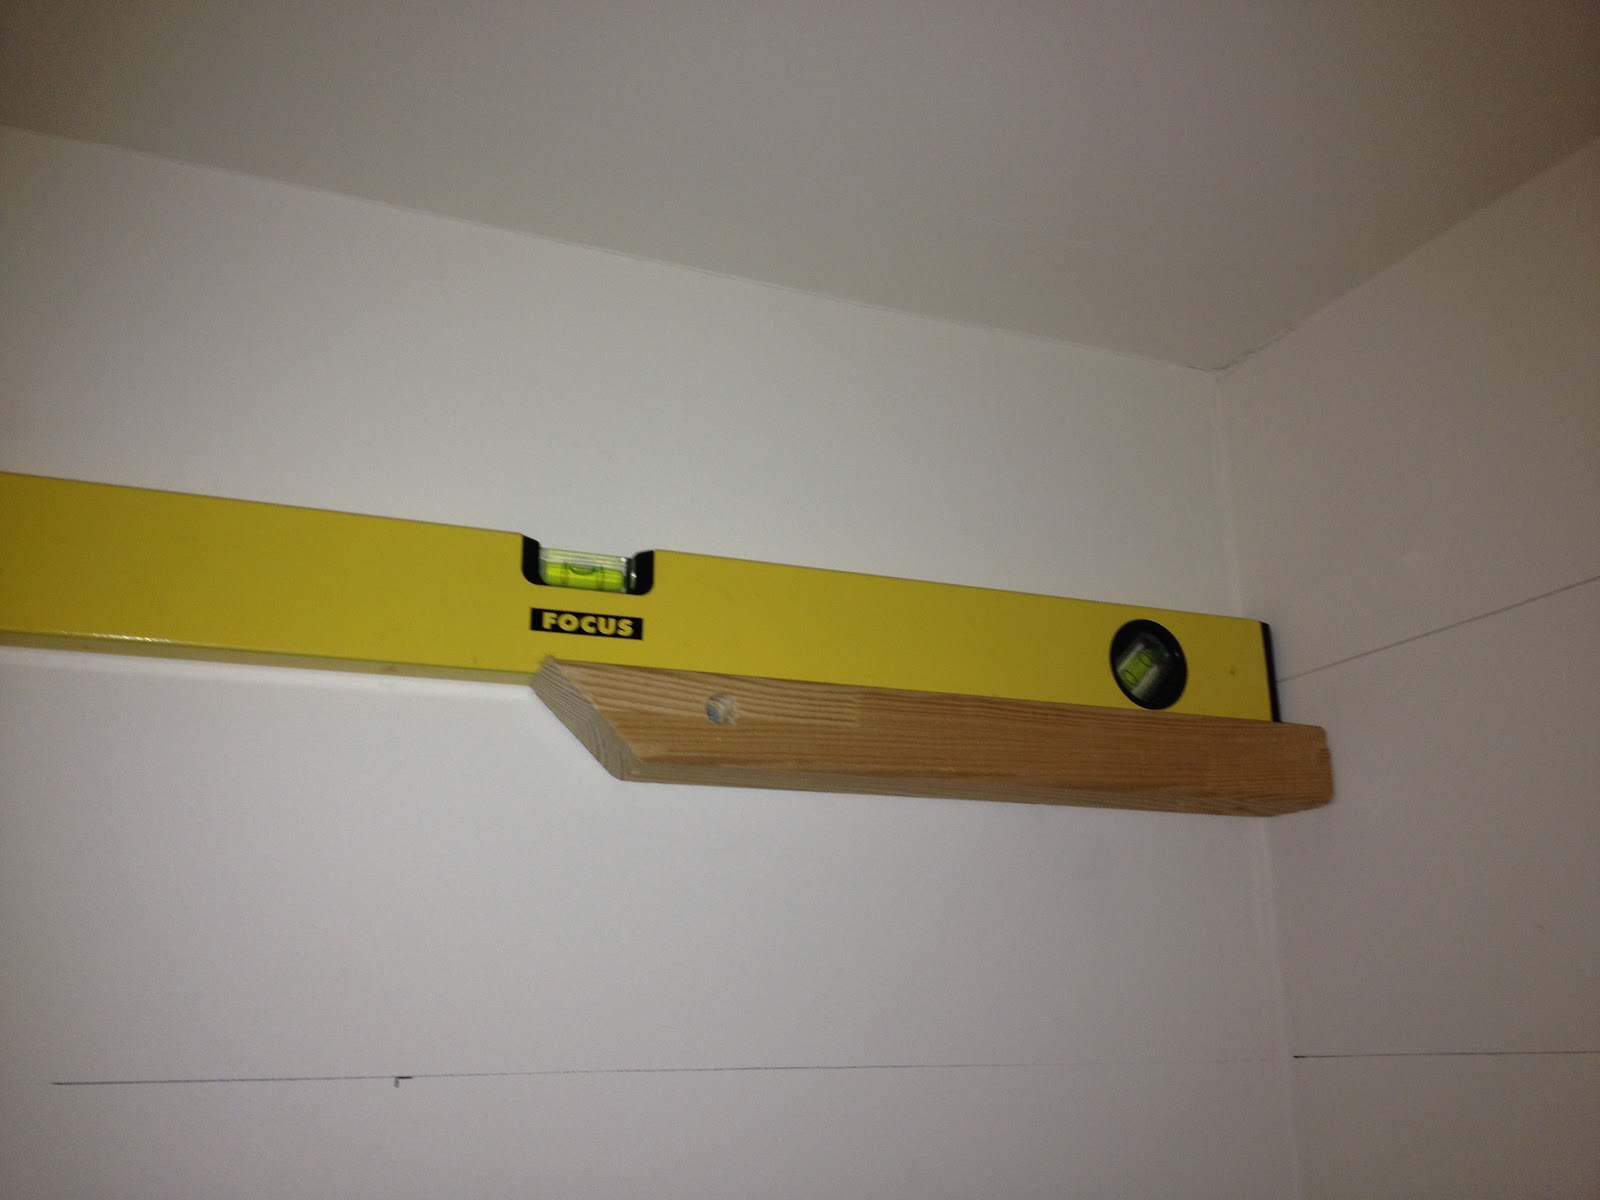
1. Draw guidelines on the wall where you want your shelves (I forgot to take a picture before I any batons up - sorry! but you can see them in the pictures below). Make sure you use a spirit level for this.

2.  Measure the depth of the shelf (2cm) down from my guidelines, and that's where the top of the baton needs to be.

3. Drill a pilot hole through the wood and a little through the wall. This gives you where you need to put the raw plug in. 

4. Put the raw plug in the wall


5. Put the screw through the wooden baton and into the wall, don't tighten it too tight yet though.

6. Lay a spirit level on top of your baton and make sure it is level while repeating steps 3-5 for the back hole - you can tighten both screws now.


And you just keep going till all the batons are up. Some of my batons were too thick for my screws so I had to do a countersink about 2cm deep! But is seemed to work ok.

Another tip if you have limited baton wood is to cut them at a 45 degee angle when sawing them up, you save about 6cms doing it this way, which was just enough for me! (you can see this on the leading edge of the batons below if you look carefully)

So here are the photos:

Coming along nicely:


And here they are in all their glory:

So glad that job is jobbed - I can put the workmate down in the garage out the way now.

I'm off for ice cream! ;)

Tuesday, 14 May 2013

An eggstremely good idea - May 2013


AN EGGSTREMELY GOOD IDEA

OK, so strictly speaking not my idea, but my Dad's, and like all good ideas it's a simple one.  When you buy new eggs but still have old ones in the basket, draw faces on the old ones so you can quickly identify which need to be used up first.


Cool eh?! Well done Dad!