So it's done. I'm finished. My longest project ever.
 When I stopped work I really wanted to work on the house's 'Magnolia-ness' and my biggest project was the lounge. So, points to consider in this room:
1. It's North facing - this ruled out my favourite colours of Duck Egg and Eau de Nil as they would have been way too cold. I wanted something that would be warm, but something with depth, yet something which would allow the light to bounce around. Not much then!
2. It's a new build - I wanted to do some kind of wood panelling effect in there that would work in a new-build without looking tacky or like I was trying to make it something it wasn't, and yet add the character I felt it so badly needed.
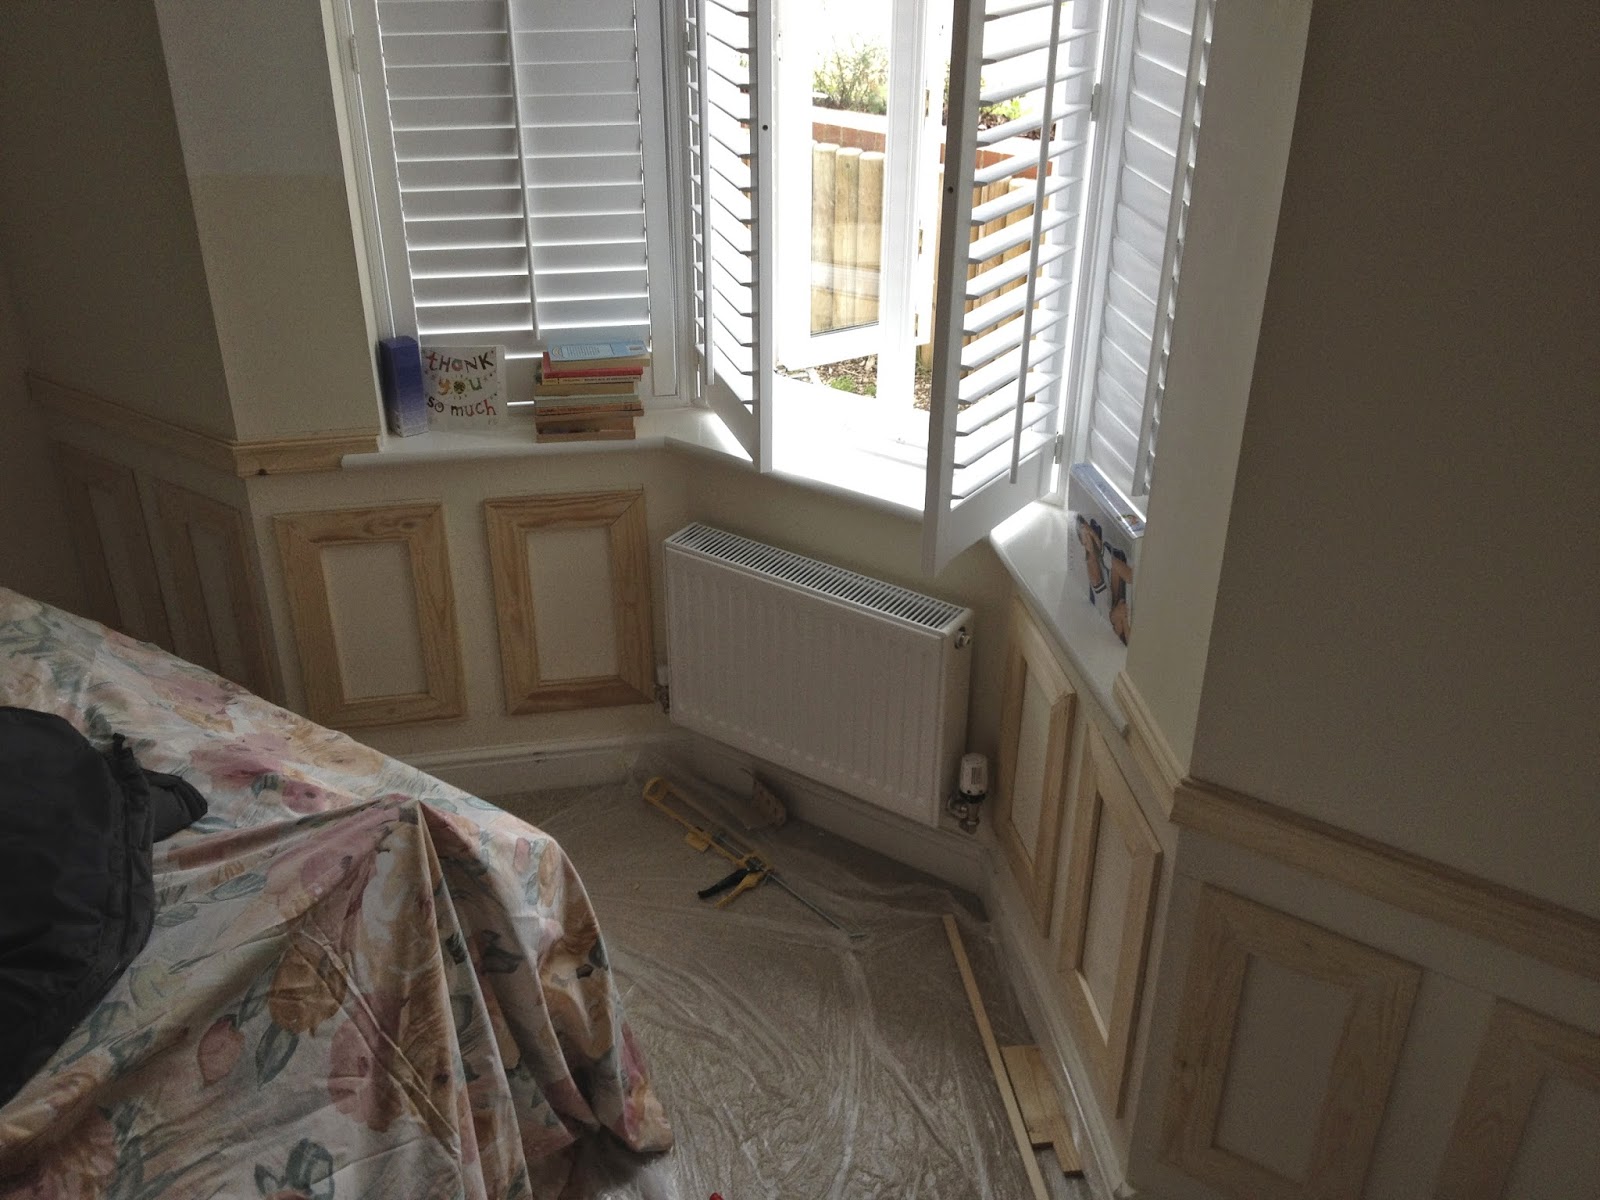
3. The shape of the room - it's longer than it is wide, with the window on the narrow wall.
4. My furniture, specifically the sofa, which is a 3 seater from the old place. Ideally I would have a two seater which would be more flexible and less of a block, but there is absolutely no point replacing our functional cheap sofa with an expensive one til the kids are grown.
5. Budget - I've not done my sums yet, but I didn't wanna spend a fortune in here, and I don't think I did. The wood was the biggest expense.
6. Practicality - it has to be resistant to kids and it has to hide toys so I can clear them all away at the end of the day for the adult space to relax.
Inspiration and sources:
Panelling:
I saw this really helpful pin to an article on pinterest, so that gave me the idea for the height of the wainscoating (which I assume to be panelling)
I also saw this pin too which gave me the idea of creating my own frames to fit the size/lengths of the wall, and painting the wall, skirting and dado rail the same colour.
My next challenge was to work out how wide I should make the panels. I decided to make the panels fit the gaps I had and that would mean each section of wall would have different widths of 'frame' - but I did try to keep them as close as I reasonably could.
Here were my first drawings to work out heights and widths etc.
I needed a 32" height overall from the floor to the top of the dado. Then I went for a 3" gap between the skirting and the frame, a 3" gap between the top of the frame and the dado and a 3" gap between each frame. So the height of each frame would be whatever was left of the height between the skirting and dado, minus 6". Hope that makes sense!
I then measured each wall and with a lot of head scratching came up with 11 panels of the longest wall which meant each frame was 12"1/2. The frames on other walls were mainly the same, but the ones in the bay window walls were as narrow as 9"3/4.
Then the loooong process of cutting the wood to size. I bought long strips of 10cm wide by 1cm deep timber. I cut them at 45 degrees on my Dad's metal angle saw jig thingy and I have no idea how many cuts I made. Frankly, it was traumatic by the end!
So here was my first panel, thought I'd start with an easy one (not!). I was determined to work around the sockets etc in that corner, So I did the best I could and filled the rest with filler. I started off tacking them into the wall, but I didn't like that look, so I ended up using no more nails, which was much more forgiving!
So here's the end of the wall getting finished:
This is the point at which my dear Mum and Dad came to say "Hi" and see how I was getting on. What you can't see to the right on the next wall (under out TV) was two double sockets, two TV arial sockets and two phone sockets. UGLY. My Dad casually mentioned I should try to cover them up. Which is how I spent pretty much the whole of the next day fashioning this out of the mdf and the timber I was using and some corner brackets. Thanks Dad… ;) No really though, worth it. So it's a removable cover with a big hole in it (behind the unit) for all the wires to go into the consoles and then back through up the wall to the TV. It messed up the panelling on my first wall I'd done, but I decided to live with it.
Here are some progress shots:
 I then primed all the frames and dado (oh, I added a decorative strip to the dado, just a simple one but enough to give it some 'weight'), sanded the skirting and applied at least three coats of iced latte duracoat from home of colour (Homebase own brand). I could go into how many blinking tester pots I bought and how different they are from the colour guide books which are RUBBISH AND NOT WORTH THE PAPER. But I won't. Honest. And that was the panels done. Only took four weeks……….. (not everyday and all day but still).
Above the dado
 Next I lined the upper parts of the walls with vertical lining paper - apart from the long uninterrupted wall (see below). I went with 'white scatter' from the earth balance range from Crown. It's basically an off white.
All my paints were chosen to try and be a good match in tone and shade to the wallpaper which was going on the upper half of the feature wall. It was (half price) from Laura Ashley, it's called Lilac and we went for the dark linen/white colouring. It only took a couple of rolls and had some spare then.
Here it is going up one night. It's worth mentioning I had lined the wall by hanging lining paper horizontally first. I did this to my last house and it really seems to make a difference and feel more luxurious, somehow!
I love love love it! I don't understand how, but it's made the room feel wider and thus squarer. Result!
Frames:
I also got to work on some frames which had been varnished wood. They displayed a photo my Grandpa had taken in the 1970s, and a pen and ink he had then done of the photo.
I also got to work on the mirror. I need to re-mount them with a darker colour mount (maybe the iced latte type colour) but they look good for now.
Storage:
I also took the plunge and replaced the toy chest with this three drawer unit. My poppet can get toys in and out much easier and it is probably safer than the heavy lid of the old chest. It was from Dunelm Mill. I was so glad it was Ivory as described rather than the yellowy ivory you can find. Phew! (by the way I don't get money or reward for these links, they are just to save you searching).
And so here the room is, in all its glory.
Apologies, I really need to get a decent daytime shot of the room so it doesn't look so yellow on the screen from the artificial lights. :(