LIGHT UP MY LIFE - MAY 2013
We bought light fixings for the living room a while back, but hadn't got round to putting them up, well - we tackled it on Friday/Saturday, so I thought I'd share how it went with you. It's obviously a bit more expensive than my usual projects, but a necessary evil!Here they are:

And here's how it went:
1. We bought two ceiling roses from Homebase and two light fittings from BHS (half price in the sale). I also chose paints to match the fittings so I could paint the roses to match - I did look a bit of an idiot walking round B&Q with a baby strapped to the front of me and a light fitting in hand, but luckily I have no shame. ;) Surprisingly it turns out the paint on the fitting is actually a very light green - so ended up buying menthe and a brown colour... you'll see why.
2. I took my3.2cm bit and drilled three holes next to each other. I did this with the rose on top of a very large pyrex bowl so that I didn't damage any surface underneath - be sure to hold it steady though!. By the way, the trick when doing this is to do each hole half way down and then go over them again to finish off.
3. I got the paints home I gave the roses two base coats of brilliant white as a primer. (Two coats were to be on the safe side as I only had two sample pots of my base colour, so didn't want to have to do loads of layers and run out.)
4. I then painted the base colour on and tried to do a highlight colour on the rims around the edge, but a. I didn't have a steady enough hand and b. it looked too formal and set. So I painted over it with white and then the base colour again and had another think... Then I thought about doing a dry brush effect with the brown to mimic the brush gold leaf effect on the fitting. So while the base coat was still wet I took a VERY dry brush with barely any brown paint on it and brushed over the large recess area. Like this:

5. Turn off your slight circuit on your fuse board!
6. Once that was dry I used no more nails to hold the rose to the ceiling. You have to make sure you are smart with which way round you put it on, so in the picture below the wooden beam in the ceiling runs from left to right. You need to have plaster to screw into... see the next step.

7. So as you can see, where I had to mark and drill into the ceiling with the light fitting bar will go into the wooden beam above. (You will need to drill a pilot hole).

8. Once that's drilled in and fixed in place (I used three inch screws as it had to go through the rose, through the ceiling plaster board, through a small gap and then up into the beam), you can fix up your electrics. I'm really not qualified to give advice on this bit though! If you're not confident, you should get an electrician to do this bit.

9. I then employed my husband's arm to hold the light fitting up high while I did the electrical bit and screwed in the grub screws to hold the fitting up. We both had our hands full for this bit so I'm afraid there's not pictures for this bit!
10. And it was done!

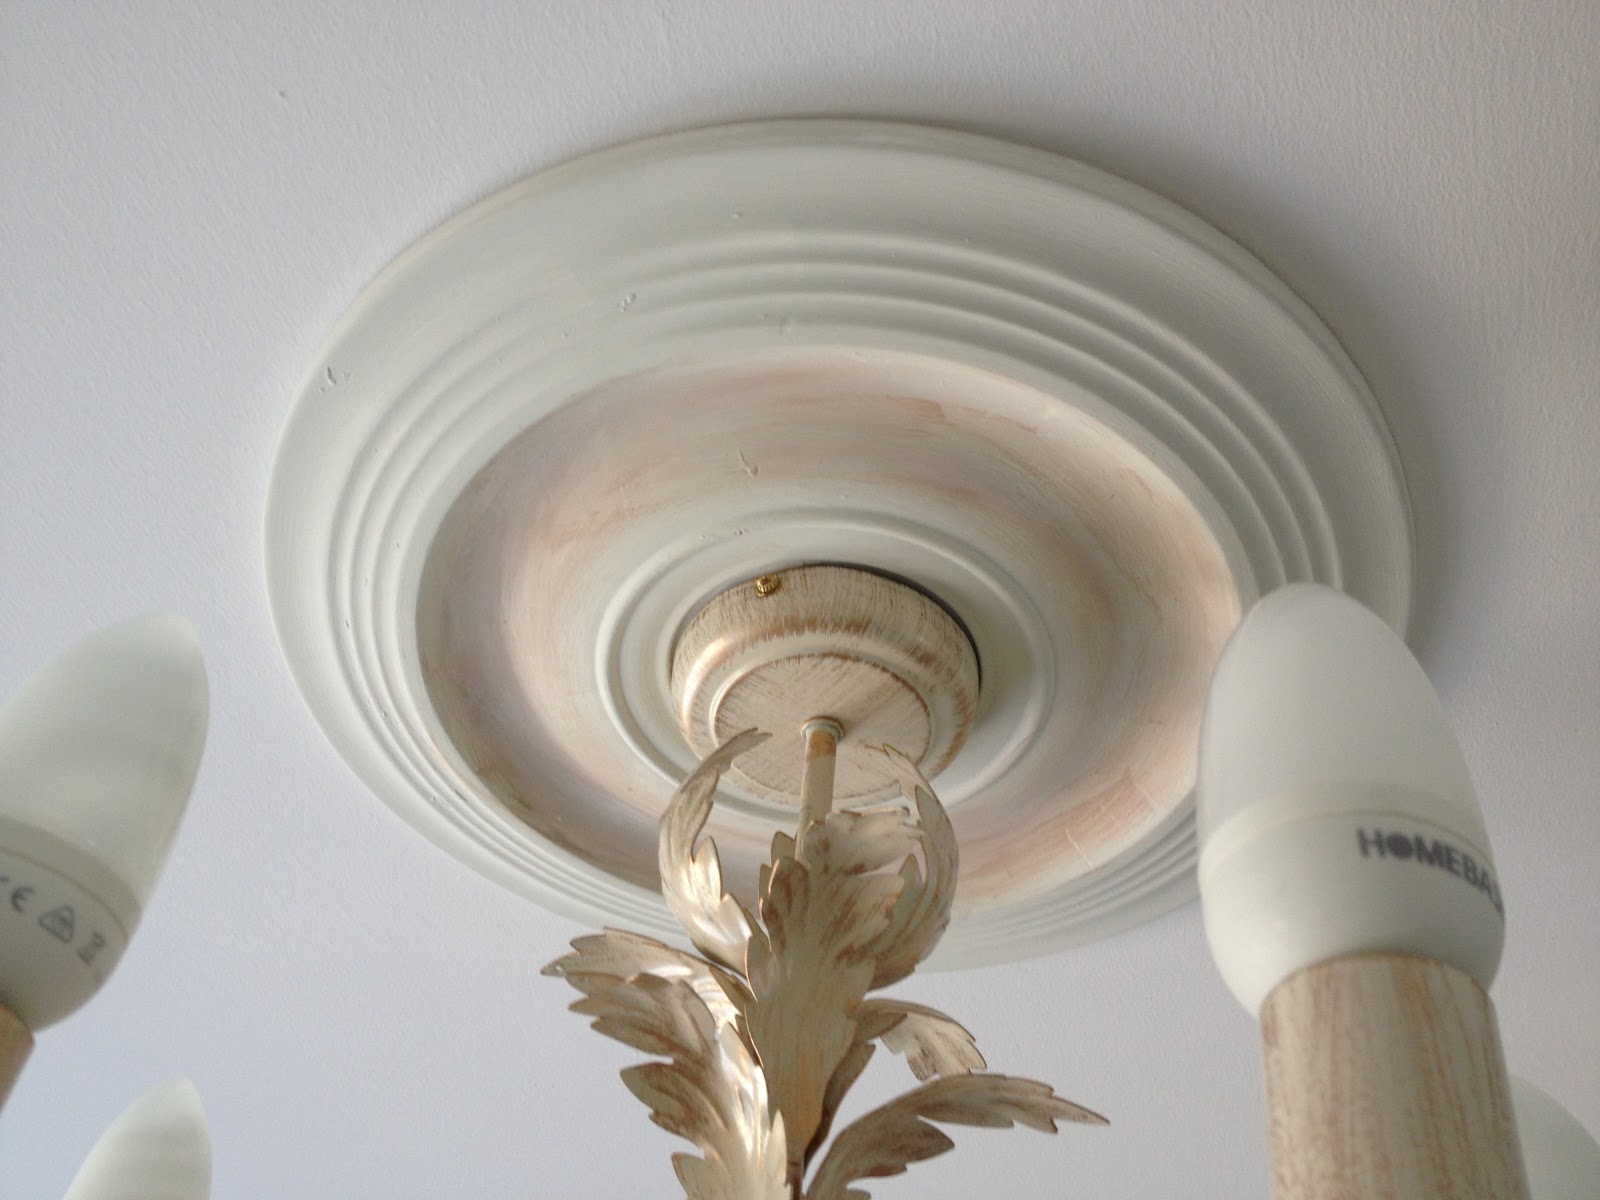


They were supposed to have glass cups at the bottom of the 'candle' bit, and crystal bits dangling down, but they were too fussy for our not massive living room, so we left them off.
The rose closest to us in this picture was the first one I did but it's brown bit is too dark, so I'll need to redo it at some point, but that can be done during the week when little one is asleep!
No comments:
Post a Comment